By Guest Contributor | June 23, 2011

See why top ecommerce brands use Miva’s no-code platform to run
multiple stores, manage massive catalogs, and grow their revenue.
Today’s guest blog post comes to us from Steve Fronek, founder of Rainbrooke.com, which offers pink laptop bags and cases for women, and owner of Ten23 Media, offering planning and consulting services for new online small businesses. You can follow both Rainebrooke and Ten23Media on Twitter.
The power of Facebook for ecommerce sites is amazing. Facebook users can spread around information like a wildfire, and the “Like” and “Send” buttons are one of the most popular ways for people to share. These two small buttons can put your product in front of hundreds or thousands of new people who may have never heard about your site or product.
Every time someone clicks the “Like” button it will show up in their Facebook news feed. If that person has a few hundred friends, you just had a few hundred new eyes looking at your product. If a few of those people share it, it will spread even further. It’s a powerful button from Facebook that you can’t pass up.
Thanks to the flexibility of Miva Merchant, adding the “Like” and “Send” buttons can be done in a short time. Below are the steps to get the “Like” and “Send” buttons added to your Miva Merchant product pages.
The Open Graph tags are where Facebook gets your products information. The tags are:
Go to your PROD page template. In Miva Merchant, go to Pages. Then scroll to the Product Display page (Code: PROD). Click the Edit button. The template should load on the “page” tab. You’ll need to add the Facebook Open Graph tags to this Miva Merchant PROD template in-between the head tags.
For the tags to work correctly within Miva Merchant and to be different on each product page, you have to add Miva Merchant tags so the product information is correct on each page. See below:
meta property=”og:site_name” content=”&mvt:store:name;”
meta property=”og:title” content=”&mvt:product:name;
meta property=”og:url” content=”YOUR PRODUCT PAGE URL STRUCTURE HERE”
meta property=”og:image” content=”https://&mvt:global:domain:name;/mm5/&mvte:product:thumbnail;”
meta property=”og:type” content=”product”
meta property=”fb:admins” content=”YOURADMIN#HERE”
Go to the Facebook URL linter. Insert one of your product page URL’s into the linter. Click the lint button. This will show you if Facebook is reading your tags correctly. If you get any errors make the necessary changes.
Go to this page. Step 1 will create your button code. Leave the URL field blank. Select the button layout you prefer, the width, color, etc. Then click Get Code.
On the PROD template, click the “Product Display Layout” tab. Decide where you would like the Facebook “Like” and “Send” buttons to show on your Miva Merchant product page and insert the code generated into that area of your product display layout code.
That’s It, you’re done!
All of your product pages should now be showing the Facebook “Like” and “Send” buttons.
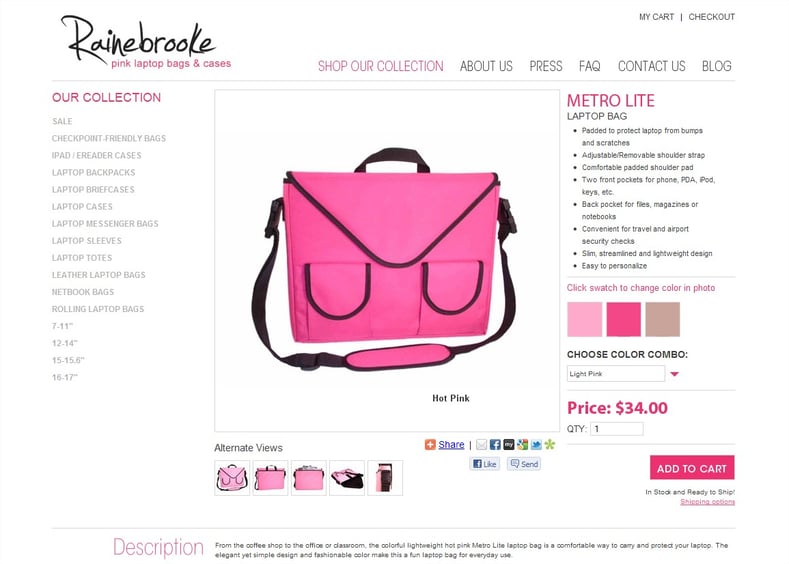
You can view them on my ecommerce store’s Miva Merchant product pages, by clicking on any of these pink laptop bags for women. The “Like” and “Send” buttons can be found under the large product image, to the left of the “Add to Cart” button.

No worries, download the PDF version now and enjoy your reading later...
Download PDF Guest Contributor
The Miva ecommerce platform powers some of the web’s most spectacular online stores—stores that benefit every day from our relationships with our partners and other valued providers. We work with our network of experts to create fresh, insightful content for all independent merchants. Interested in contributing to the Miva blog? Click below to learn more about our co-marketing opportunities.
Visit Website